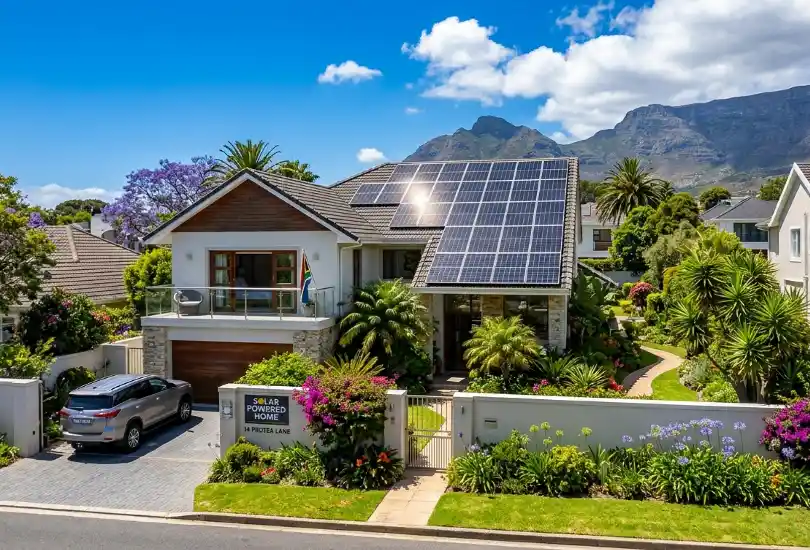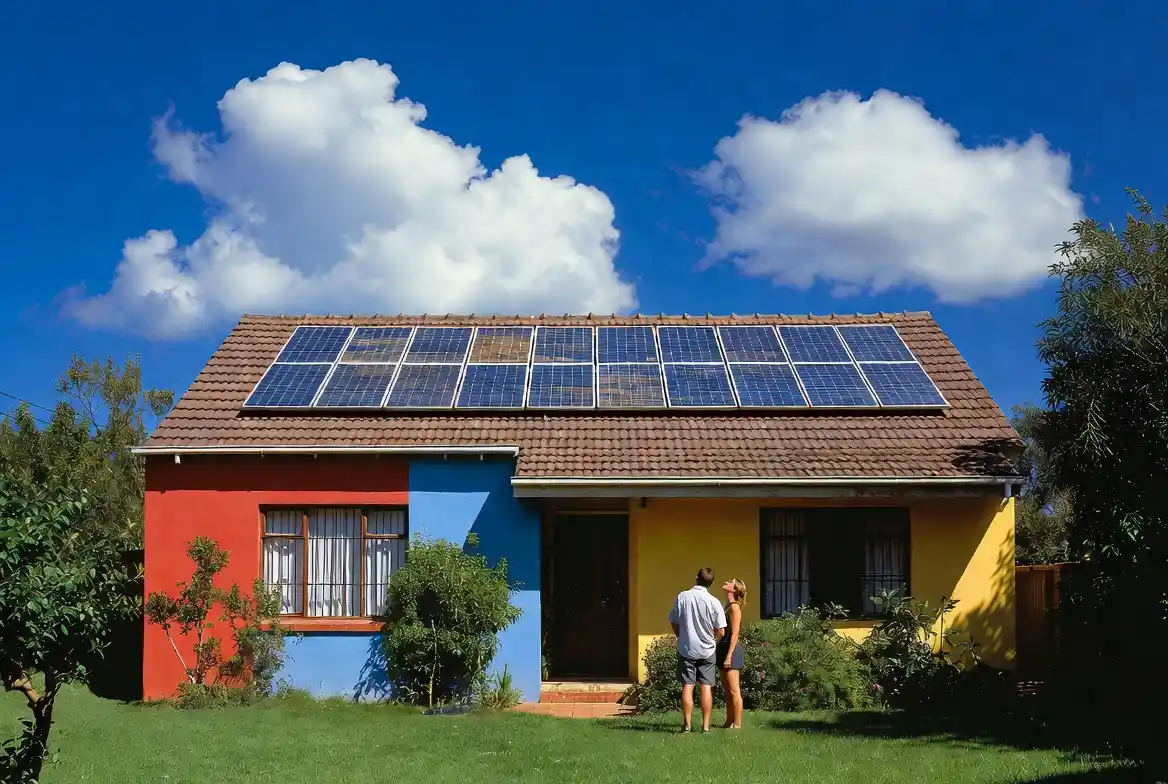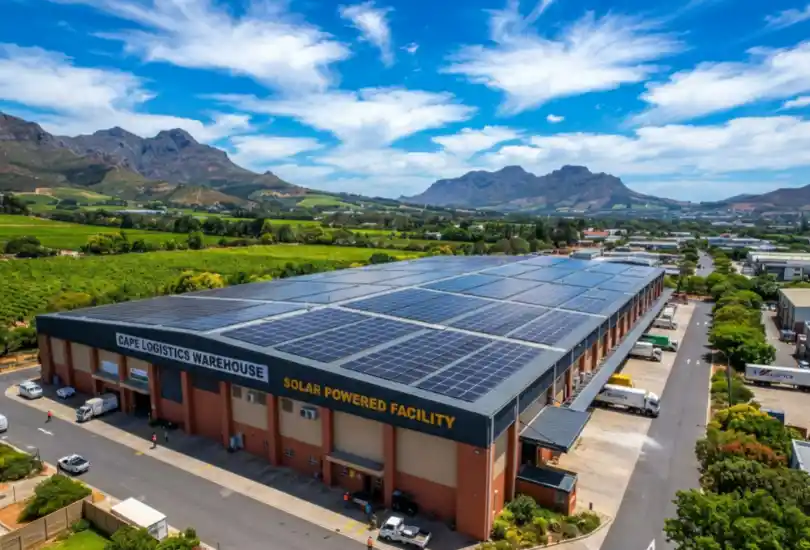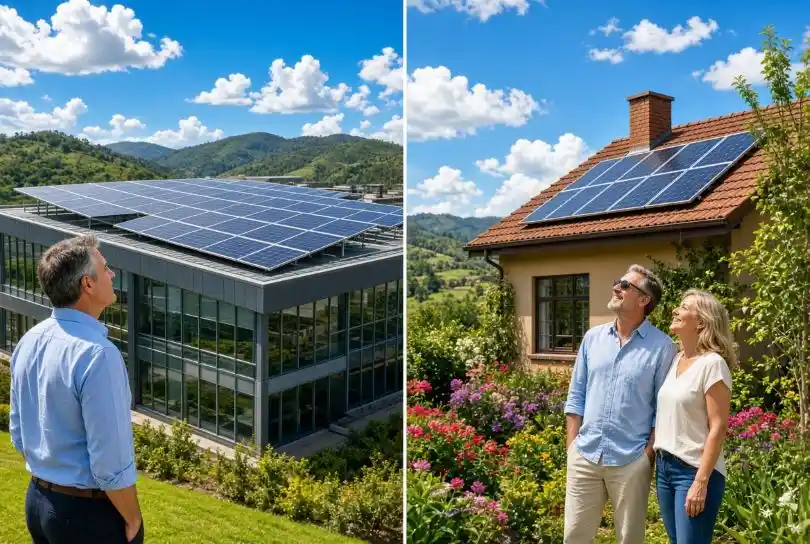

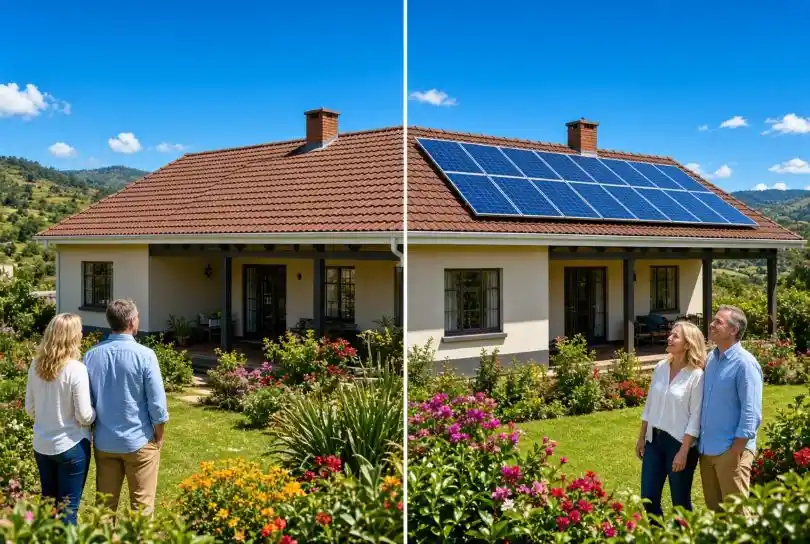
Before/after photos are a solar marketing staple for good reason — they're immediately understandable and visually compelling. But most installers execute them poorly, undercutting a genuinely effective format with avoidable mistakes.
Match the Conditions Between Shots
A common mistake: the "before" shot taken on an overcast day, the "after" shot on a bright, sunny one — the comparison ends up showing lighting difference as much as the actual installation. Shooting both from the same angle, similar time of day and lighting where possible, makes the comparison genuinely honest and more visually convincing.
Show the Same Angle, Not a Flattering Different One
Using a wide, unflattering "before" angle and a tight, carefully composed "after" angle exaggerates the apparent transformation in a way that reads as manipulative once a viewer notices — matching the framing between both shots keeps the comparison credible and is simply more honest marketing practice.
Context Matters More Than the Photos Alone
A before/after pair with no caption explaining the system size, the customer's situation, or the outcome is less useful than one paired with brief, specific context — echoing the case for real, specific content covered in our piece on turning one installation into a month of content.
Don't Overuse the Same Handful of Examples
Repeatedly featuring the same one or two impressive installations across every platform can start to look like you don't have much other work to show — building a rotating library from ongoing jobs (not just your single best-looking installation ever) keeps content fresh and more representative of typical work.
Get Explicit Permission
As covered in our piece on turning installations into content, always get clear permission before publicly featuring a customer's property — this applies as much to before/after comparisons as any other content format.
Where Before/After Content Performs Well
Directory listings like ADEO, social media, and your own website all benefit from genuine before/after content — it's one of the more immediately persuasive formats available, provided it's executed honestly rather than exaggerated through mismatched conditions or misleading angles.
Video Before/After as a Stronger Variant
A short video panning across the same before and after view, rather than two static photos, can be even more compelling — see our piece on video content without a big budget for how to approach this without needing professional production.
Getting Started
If you have completed installations without proper before/after documentation, it's worth building this into your standard process for every future job going forward — homeowners reaching ADEO, including those who've used our solar calculator, respond well to this kind of concrete, honest visual evidence.
Frequently Asked Questions
Is it acceptable to lightly edit before/after photos for brightness or clarity? Minor, honest adjustments (brightness, cropping) are generally fine — the concern is specifically misleading manipulation, like exaggerating conditions or angles to overstate the visual transformation.
Should before/after photos always be full-roof shots? Not necessarily — a closer shot highlighting specific installation quality (mounting, wiring neatness) can be just as valuable as a full-roof comparison, depending on what you're trying to demonstrate.
How many before/after examples should a website or profile feature? A reasonable rotating selection — enough to demonstrate consistent, varied work, without repeating the exact same few examples indefinitely.

Writes about solar and renewable energy for South African homes and businesses at SolarTally, and cross-checks every guide against current tariffs and installer standards.


Popular on SolarTally